

A roof leak that appears near a chimney, wall, skylight, or vent is often blamed on shingles. In many cases, the real problem is the metal flashing beneath and around those materials. Knowing how to fix roof flashing starts with identifying whether the flashing itself has failed, whether surrounding roofing materials are letting water behind it, or whether the leak has already caused hidden damage.
Flashing repairs can be straightforward when the issue is a small, accessible gap. They can also require careful removal and replacement of shingles, siding, or masonry-adjacent materials. On Connecticut roofs, repeated freeze-thaw cycles, wind-driven rain, ice dams, and coastal exposure can turn a minor flashing weakness into an active interior leak quickly.
What Roof Flashing Does
Roof flashing is installed at vulnerable transitions where water naturally collects or changes direction. It is commonly made from aluminum, galvanized steel, copper, or lead-coated copper, depending on the roof system and the property.
Rather than stopping water with a single bead of sealant, properly installed flashing directs water back onto the roof surface and toward the gutters. This layered design matters. Water can work its way behind shingles, siding, or brick if flashing is bent, corroded, poorly lapped, or incorrectly fastened.
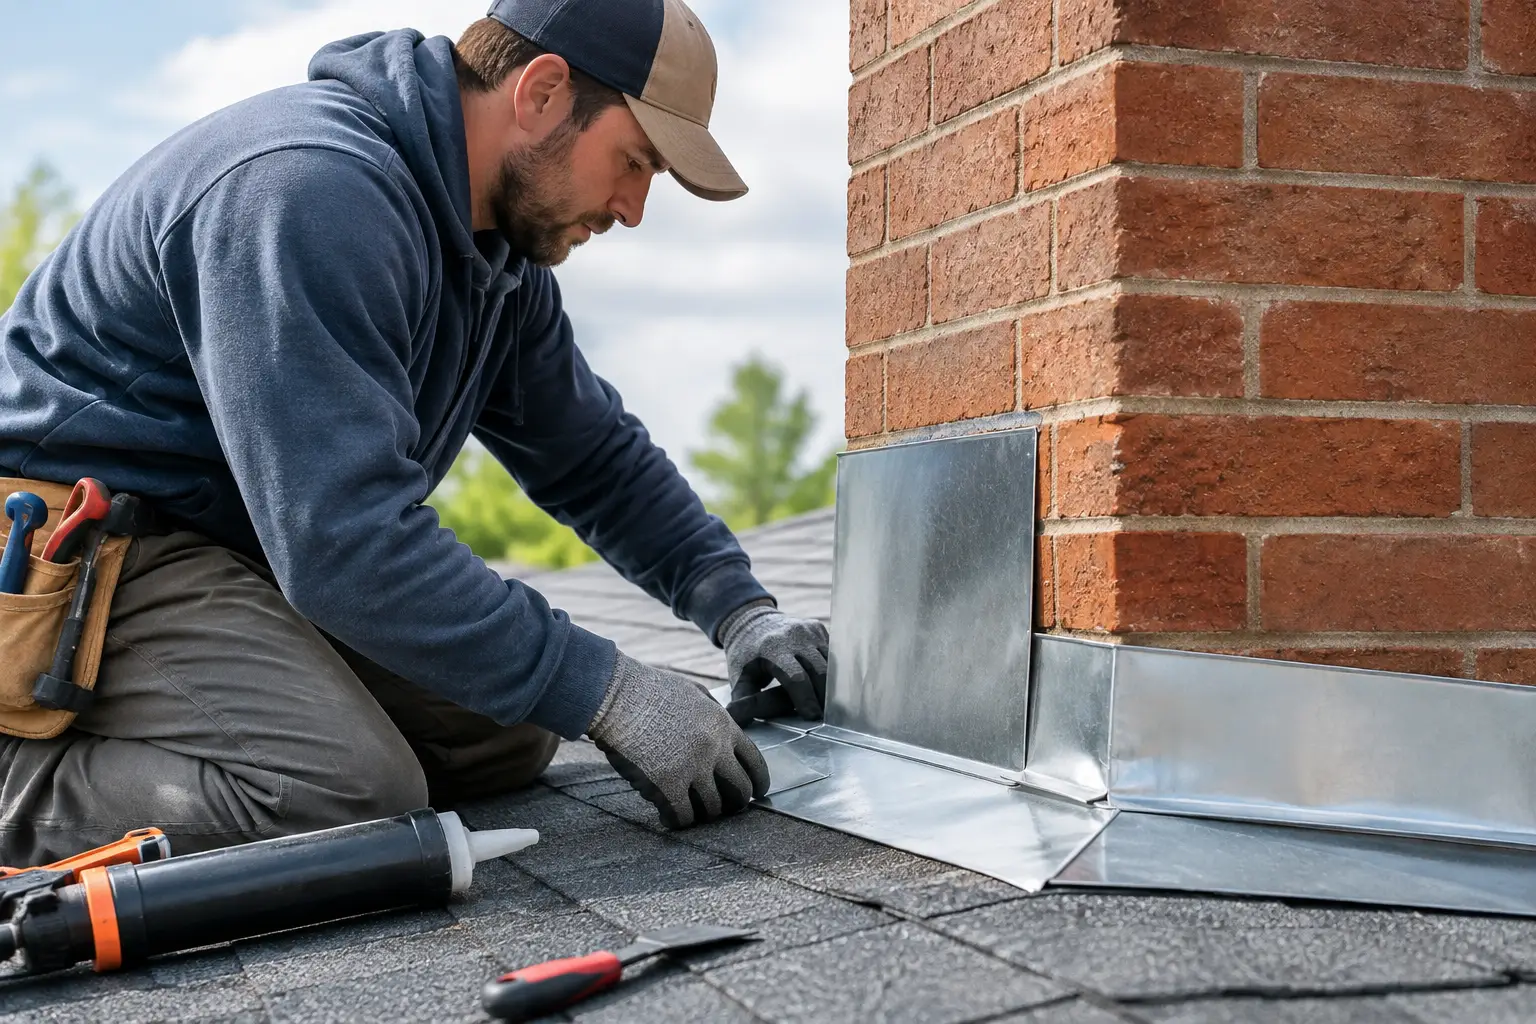
Common flashing locations include chimneys, sidewalls, roof valleys, skylights, dormers, plumbing vents, and the edges where a roof meets a vertical wall. Step flashing is used along sidewalls, while counterflashing is often embedded into chimney mortar joints to cover the upper edge of base flashing.
Start by Finding the Actual Source of the Leak
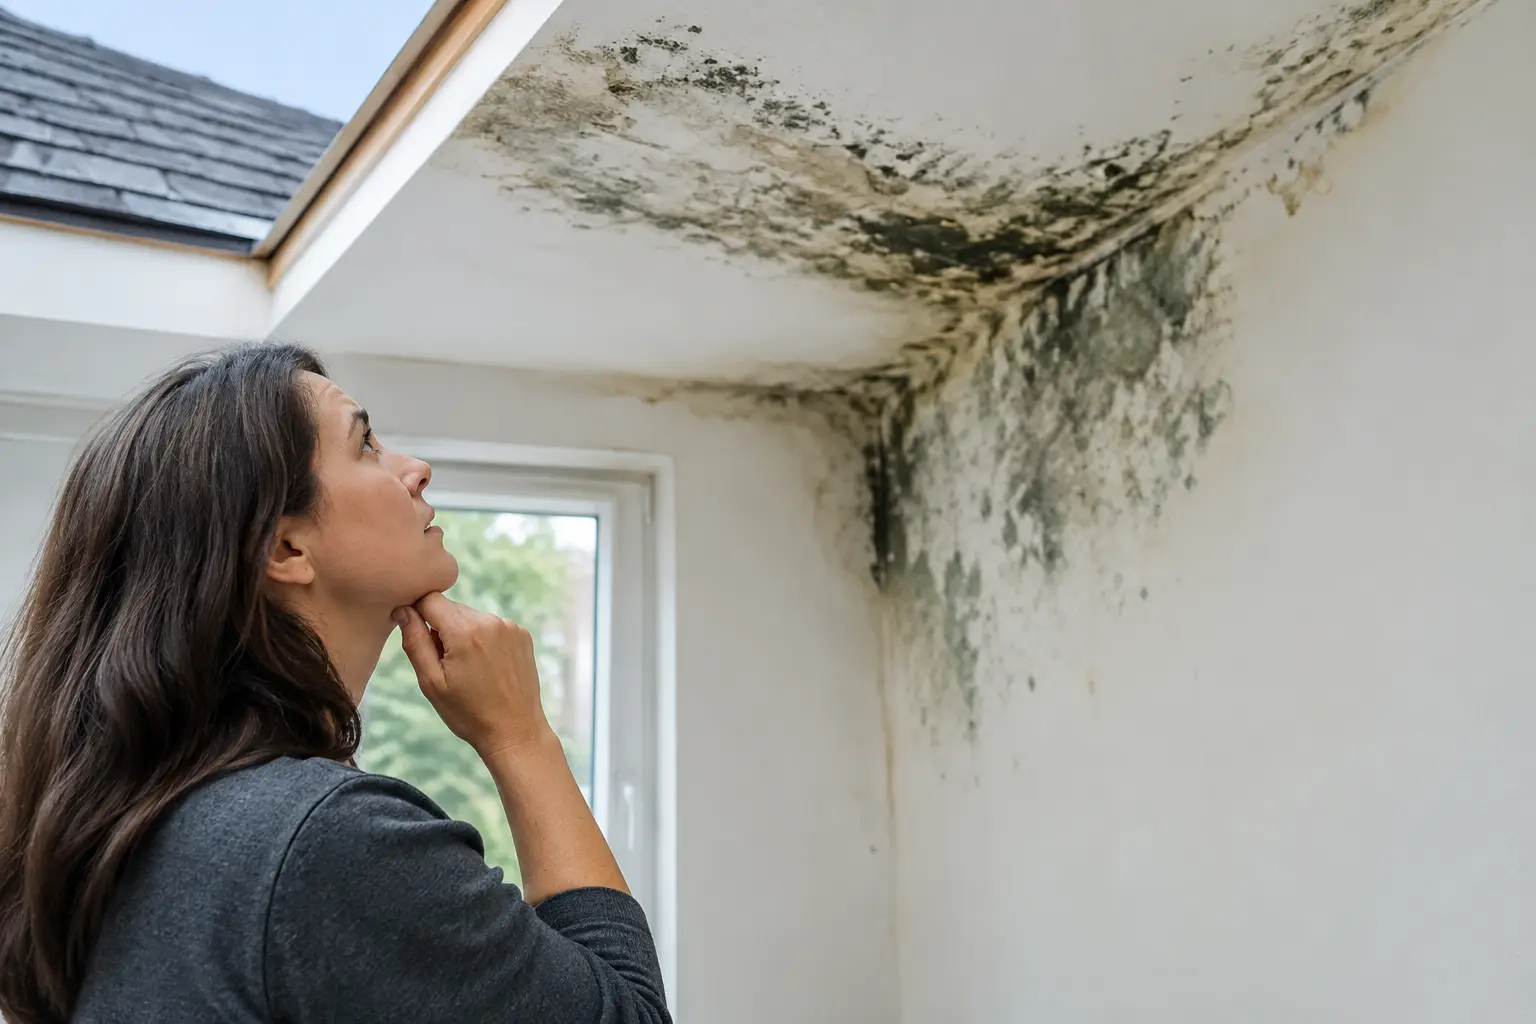
Water does not always enter where it becomes visible indoors. A ceiling stain may be several feet away from the opening, especially on a sloped roof or in an attic with insulation that redirects water. Before attempting a repair, inspect the roof area above the leak and check the attic during or shortly after rainfall if it is safe to do so.
Look for lifted shingles, cracked sealant, exposed nail heads, loose metal edges, rust, punctures, deteriorated mortar, or gaps where flashing meets siding or masonry. Dark staining on roof decking, wet insulation, or mold-like growth in the attic suggests the leak has been active longer than it first appeared.
A careful exterior inspection should also consider the roof’s overall condition. Flashing may not be the only issue if shingles are brittle, curled, missing, or near the end of their service life. Repairing one flashing joint on a failing roof may stop a current leak but will not solve the larger problem.
How to Fix Roof Flashing for Minor, Visible Damage
A limited repair may be appropriate when the roof is otherwise in good condition and the damage is clearly confined to a small area. Only work from a ladder or roof when conditions are dry, the slope is manageable, and you have proper fall protection. Wet leaves, moss, frost, and loose granules make roof work dangerous.
Refasten loose flashing carefully
Wind can lift an exposed edge of flashing or loosen fasteners over time. If the flashing is intact and has not pulled away from the roofing layers beneath it, it may be possible to secure it with appropriate roofing fasteners placed where they will remain protected by overlapping materials.
Do not drive exposed fasteners through the center of a flashing surface where water flows. Any fastener that is necessary should be positioned and sealed according to the flashing design, not simply covered with caulk. Improper fastening can create a new leak path.
Replace failed sealant at a joint
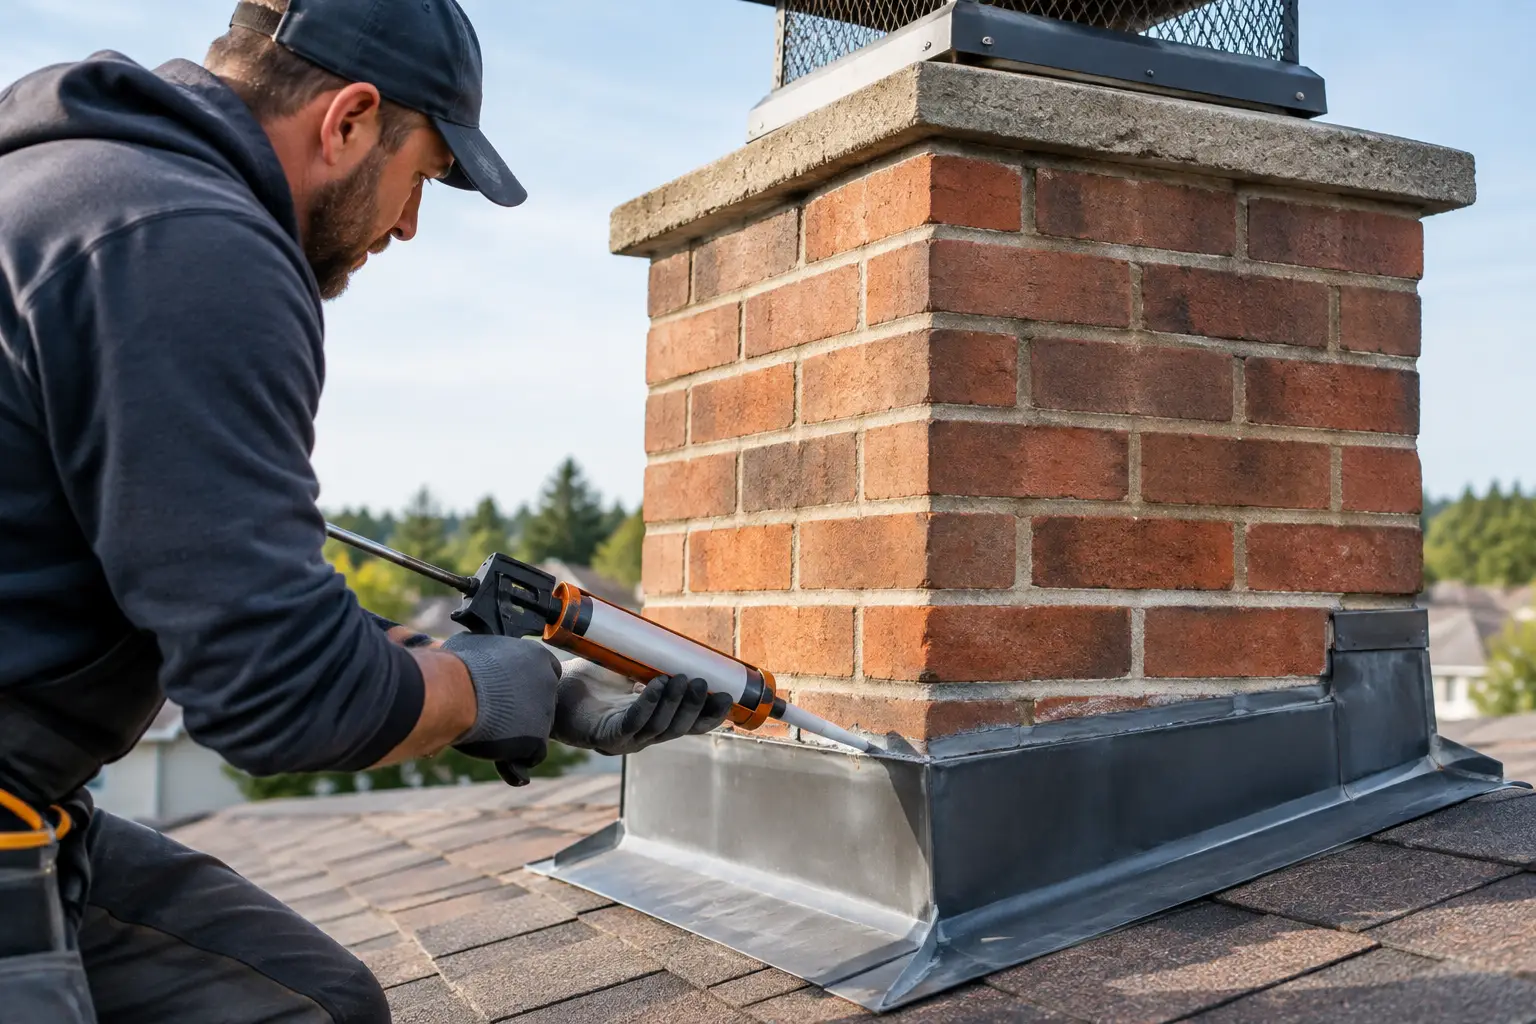
Sealant is useful at certain flashing joints, such as around a metal termination or a small gap at counterflashing. Remove loose, cracked, or failing material first. The surface must be dry and clean before applying a roof-compatible sealant.
Sealant should support a properly lapped flashing system, not replace it. Smearing roofing cement over a broad area may stop water temporarily, but it can trap moisture, conceal corrosion, and make a future repair more difficult. This is a common issue on older roofs and around chimneys.
Repair or replace damaged step flashing
Step flashing is installed in individual pieces between shingle courses along a wall or chimney side. Because each piece is integrated with the shingles, replacing damaged step flashing usually means lifting or removing shingles in the affected section.
The replacement pieces must overlap correctly so water flows from one piece to the next and onto the shingle below. If siding covers the upper edge, some siding may need to be removed and reinstalled. This is where a seemingly small repair often becomes a professional job, particularly on cedar, slate, metal, or historic roofing systems.
Chimney Flashing Requires More Than Surface Patching
Chimneys are one of the most common sources of roof leaks because they combine roofing, metalwork, masonry, and sealant joints in one area. A proper chimney flashing system generally includes base flashing at the roof plane, step flashing along the sides, a cricket behind wider chimneys to divert water, and counterflashing installed into the mortar joints.
If counterflashing has pulled out of the mortar, the chimney mortar is crumbling, or rust has eaten through the metal, a surface patch is rarely a lasting answer. The old flashing may need to be removed, the masonry joint repaired, and new counterflashing installed correctly. Copper flashing can last for decades, but it still needs to be integrated properly with the roof material and adjoining metals.
When Flashing Repair Should Be Left to a Roofing Professional
Calling a qualified roofer is the safer and more cost-effective choice when you see interior water damage, multiple failed flashing areas, soft roof decking, damaged masonry, or recurring leaks after a previous patch. These conditions indicate that water may be getting beneath the roof covering, where the full extent of damage cannot be seen from the ground.
Professional repair is also recommended for steep roofs, slate and cedar roofs, low-slope commercial roofs, skylight systems, and roofs with complex valleys or dormers. These systems require material-specific methods. For example, walking improperly on slate can crack tiles, while low-slope membranes require compatible flashing details and seams that cannot be repaired with standard shingle-roof products.
Property owners near the Connecticut coast should be especially cautious about corrosion and wind damage. Salt air can shorten the service life of certain metals and fasteners, while wind-driven rain can expose weaknesses that a light shower does not reveal.
Avoid These Common Flashing Repair Mistakes
The fastest-looking repair is not always the best repair. Avoid relying on these shortcuts:
- Applying thick roofing cement over rusted, loose, or improperly installed flashing.
- Sealing over wet materials or ignoring rotten decking beneath the leak.
- Using incompatible metals that can corrode when they contact each other.
- Replacing a few shingles without addressing the step flashing or underlayment behind them.
- Walking on a steep, wet, icy, slate, or fragile roof without proper safety equipment.
A repair should restore the water-shedding layers of the roof. If it only hides a gap for a season, the next storm may send water into the attic, wall cavity, or ceiling again.
Protect the Repair With Ongoing Roof Maintenance
Flashing should be checked at least once a year and after major storms. Keep gutters clear so water does not back up along roof edges. Trim branches that scrape the roof or drop debris into valleys, and address loose shingles before wind can lift surrounding materials.
In Fairfield County, winter maintenance matters as much as storm maintenance. Ice dams can force water uphill beneath shingles and into flashing transitions. Adequate attic insulation and ventilation help reduce that risk, while timely snow and ice management can limit stress on vulnerable roof areas.
For an active leak, place a container under dripping water, move valuables away from the area, and photograph visible damage for your records. Then arrange a roof inspection promptly. Rick’s Main Roofing can evaluate the flashing, surrounding roof materials, and underlying structure to determine whether a focused repair or a broader solution is warranted.
The best flashing repair is the one that restores a clear path for water to leave the roof – before a small stain becomes damaged decking, insulation, and interior finishes.