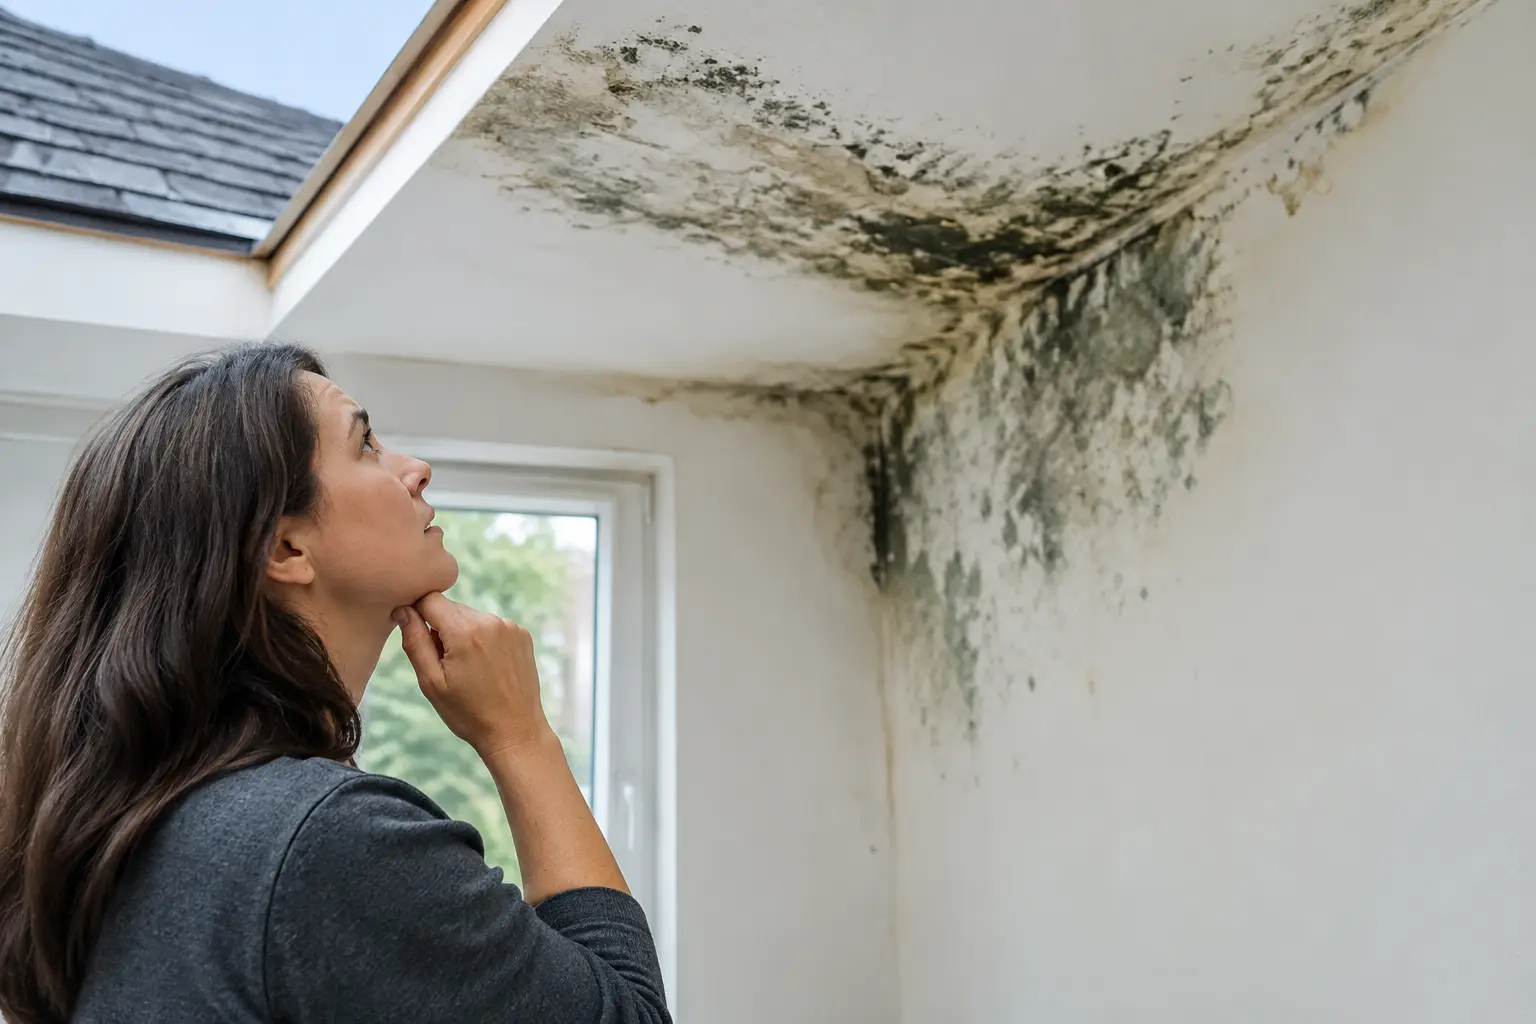


A brown ceiling stain near the fireplace rarely means water is entering directly above that spot. Chimney leaks can travel along framing, roof decking, or the chimney structure before appearing indoors. Knowing how to seal chimney leaks starts with identifying the actual entry point, not applying caulk where water finally became visible.
For homes throughout Norwalk and Fairfield County, wind-driven rain, freeze-thaw cycles, aging mortar, and ice buildup can all compromise the area where a chimney meets the roof. A proper repair protects the roofing system, the chimney masonry, and the interior of the home. A quick surface patch may slow a drip, but it often leaves the underlying failure in place.
Find the Source Before You Seal Anything
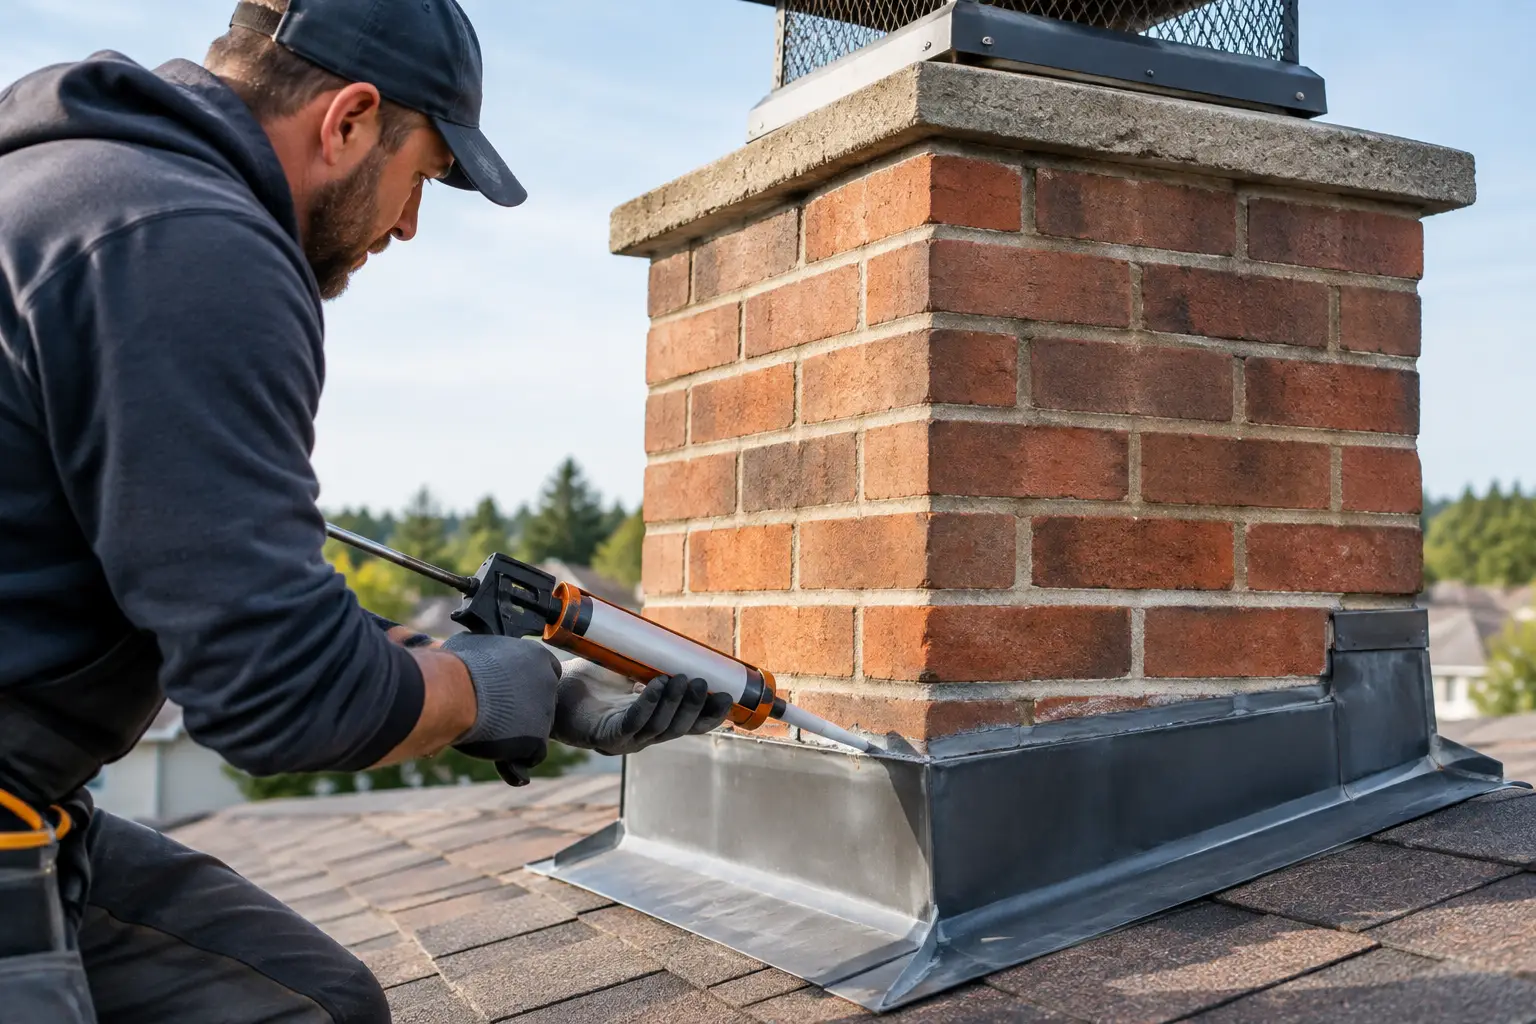
The most common chimney leak is a flashing problem. Flashing is the metal system installed where the roof meets the chimney. It should direct water around the chimney and safely onto the roof surface. When it rusts, separates, was installed improperly, or becomes buried under failing sealant, water can enter at the roof-to-chimney joint.
Not every leak in this area is flashing-related, however. Cracked chimney crowns, damaged mortar joints, missing or loose chimney caps, deteriorated brick, and failed roof shingles upslope of the chimney can produce similar symptoms. On older homes, particularly those with slate or cedar roofing, a repair must account for the roofing material and preserve the original system rather than forcing a generic patch into place.
Start with a ground-level inspection after a dry day. Look for cracked or missing mortar, white chalky staining on brick, rust streaks, open gaps around flashing, lifted shingles, and a cap that appears loose or damaged. Inside, note whether staining gets worse after a heavy rain, wind-driven storm, or snowmelt. Those patterns help narrow down the source.
Avoid climbing onto a wet or steep roof to inspect a chimney. Chimneys are often located high on the roof, where footing is poor and damage may be hidden beneath roofing materials. If water is actively entering the building, protect furnishings, place a container under the drip, and arrange a professional inspection as soon as conditions allow.
How to Seal Chimney Leaks at the Flashing
If flashing is intact but the sealant along a small exposed edge has failed, a high-quality roofing sealant may be part of the repair. The key word is part. Sealant is not a substitute for properly layered step flashing, counterflashing, underlayment, and shingles.
A sound flashing repair begins by removing loose, cracked, or deteriorated sealant. The area must be dry and clean before new sealant is applied. Roofing-grade polyurethane or a compatible exterior sealant is generally more durable than ordinary household caulk, but product compatibility matters. Some materials can stain masonry, react poorly with certain metals, or fail prematurely in Connecticut’s seasonal temperature swings.
Counterflashing deserves special attention. This is the flashing embedded or secured into the chimney’s masonry that covers the top edge of the roof flashing. Its purpose is to keep water from getting behind the lower flashing. When counterflashing pulls away from the brick or its mortar joint fails, water can work behind the entire assembly.
For a lasting repair, a roofing professional may need to remove shingles around the chimney, replace damaged step flashing, install new ice and water protection, and reset or replace counterflashing. This is especially true when the flashing has been repeatedly coated with tar or caulk. Those coatings can conceal corrosion and trap water rather than redirecting it.
Repair Masonry Defects Separately
Brick and mortar are not waterproof simply because they look solid. Mortar joints can crack as the chimney expands, contracts, and absorbs moisture. Small cracks allow water into the masonry, where freezing temperatures can enlarge the damage over time. Spalling brick, where the brick face flakes or breaks away, is another sign that moisture has become a structural concern.
Minor mortar joint deterioration may require tuckpointing or repointing, which involves removing failed mortar and installing new mortar suited to the chimney’s age and masonry type. Historic chimneys deserve careful evaluation because overly hard modern mortar can damage softer older brick.
The chimney crown also needs a close look. This concrete or masonry surface sits at the top of the chimney and should slope away from the flue. Cracks in the crown can let water into the chimney body. A small surface crack may be repairable with a crown-specific coating or patch material. A deeply cracked, crumbling, or poorly sloped crown generally needs replacement.
Water repellents can help protect sound masonry after necessary repairs are complete. They should be vapor-permeable, allowing moisture within the chimney to escape. Never use a coating as a way to hide active cracks, failed mortar, or missing flashing. Sealing in moisture can accelerate deterioration.
Do Not Overlook the Chimney Cap and Roof Area
A chimney cap keeps rain, snow, leaves, and animals out of the flue. If it is missing, bent, undersized, or improperly attached, water can enter from above and create a leak that resembles a roof problem. A quality cap must fit the flue or chimney correctly while allowing exhaust to vent safely.
The shingles and underlayment above the chimney matter just as much. Water flows downhill, but it can also be driven uphill by strong winds or backed up by snow and ice. A chimney that sits on a broad roof slope may need a cricket, also called a saddle, behind it. This raised, flashed structure splits water around the chimney instead of allowing debris and runoff to collect on its uphill side.
A cricket is typically recommended for wider chimneys, but the right approach depends on the roof pitch, chimney dimensions, roofing material, and local weather exposure. On a coastal property, wind-driven rain can make proper flashing details even more critical. On a home prone to ice dams, the repair may also require improved ice-and-water protection and attention to attic insulation and ventilation.
When a Temporary Patch Makes Sense
A temporary repair has a place during an active leak, particularly when a storm has damaged flashing or displaced roofing material. A professional may apply an emergency weatherproofing measure to reduce water entry until a full repair can be completed in safe, dry conditions.
Homeowners should be cautious with do-it-yourself patches. Roofing cement spread across flashing, brick, and shingles may stop water for a short time, but it can make the permanent repair more difficult. It can also interfere with drainage and mask the true extent of corrosion or wood damage. Expanding foam, interior caulk, and tape are not chimney leak repairs.
If the leak is causing ceiling sagging, electrical concerns, visible mold, or steady water intrusion, treat it as urgent. Move belongings away from the area and contact an experienced roofing contractor. Waiting for the next dry weekend can turn a localized flashing repair into damaged roof decking, insulation replacement, and interior restoration.
Know When to Call a Roofing Professional
Chimney work crosses several systems: roofing, flashing, masonry, ventilation, and sometimes structural framing. The repair needs to address all affected components without creating a new problem. For example, replacing roof flashing without correcting a cracked crown may leave the leak unresolved. Repointing masonry without addressing failed step flashing may do the same.
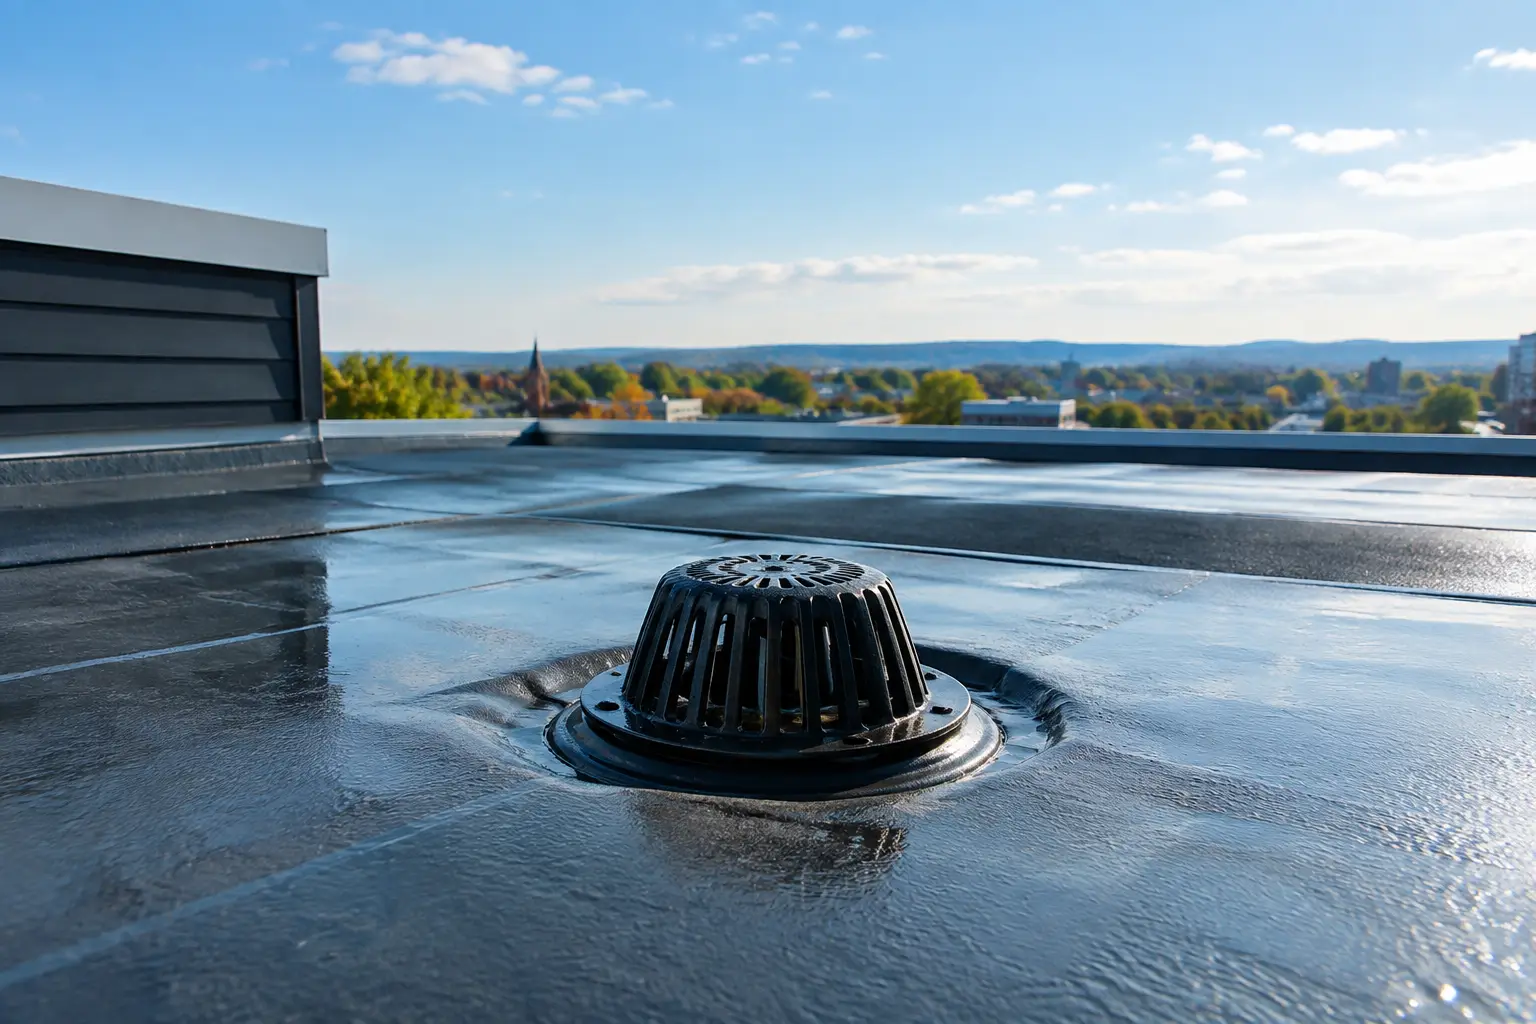
Professional assessment is particularly worthwhile if the chimney is on a steep roof, the home has slate, cedar, metal, or low-slope roofing, or the chimney is historic. Commercial properties also require careful coordination because a chimney or exhaust penetration can affect larger membrane roof assemblies and building operations.
Rick’s Main Roofing evaluates the roof and flashing system as a whole, helping property owners distinguish a simple sealant failure from a repair that requires new flashing, shingles, masonry work, or emergency protection. The goal is not to cover the leak. It is to restore the path that keeps water moving away from the building.
A chimney should shed water at every level: from the cap and crown, down the masonry, across the flashing, and onto the roof. When that path is intact, the home stays dry. When a stain appears, act early and repair the system behind it before the next storm tests it again.