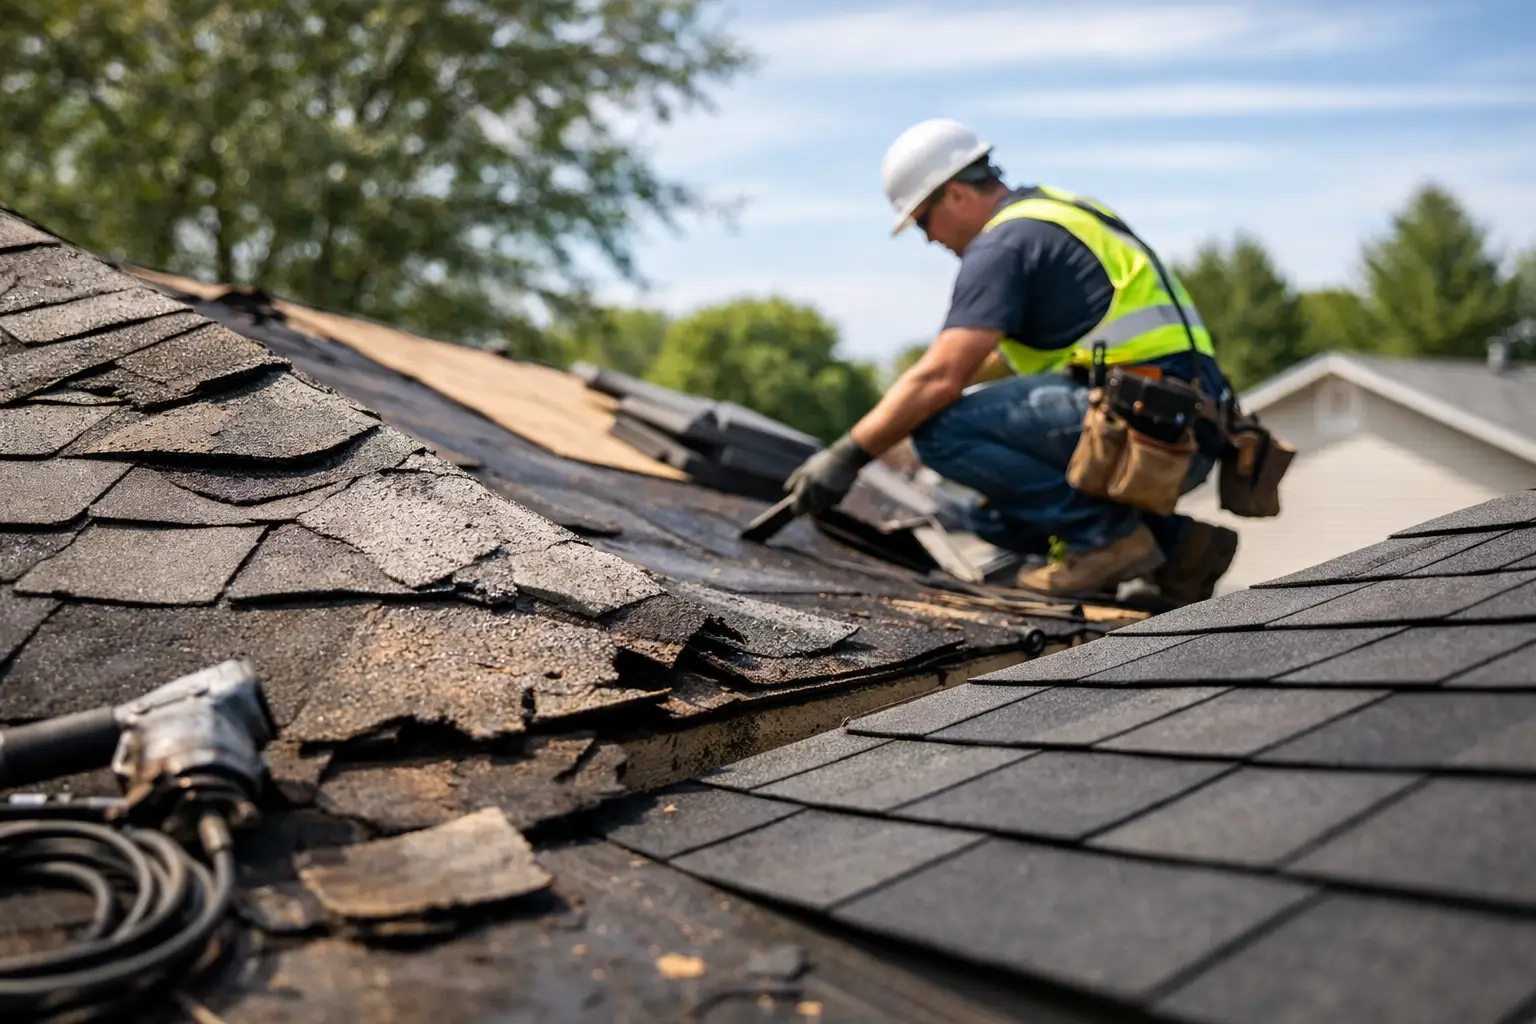
If you’ve ever dealt with a roofing problem at your home, you must have heard about the roof felt paper. You know that it’s very crucial. But the question comes with how to install roof tar paper. There are a bunch of names for roof felt paper, like felt paper for roofing, or asphalt-saturated felt. But it doesn’t matter what the name is; the purpose is the same. It behaves like a protective barrier between the roof decks of roof and shingles.
But want to know the most challenging thing about it? Install it without any wrinkles. The problem is that if you don’t know anything about how to lay roofing felt properly, these wrinkles can be turned into bumps, which can lead to poor flow of water or even long-term leaks.
We are going to save you from this by talking about the best way to install roofing felt without any wrinkles. Let’s discuss this step by step.
Why Does the Roof Felt Paper Even Matter?
Before actually moving to discussing how to install roof tar paper, let’s have a look at why this thing even matters this much. As we have read that it’s saturated with asphalt, which is why it serves as a protective layer that holds back the moisture going through the safety net of your roof.
Because whenever shingles are shifted, cracked, or even aged, felt paper offers full backup protection. Now you understand why the proper installation matters so much.
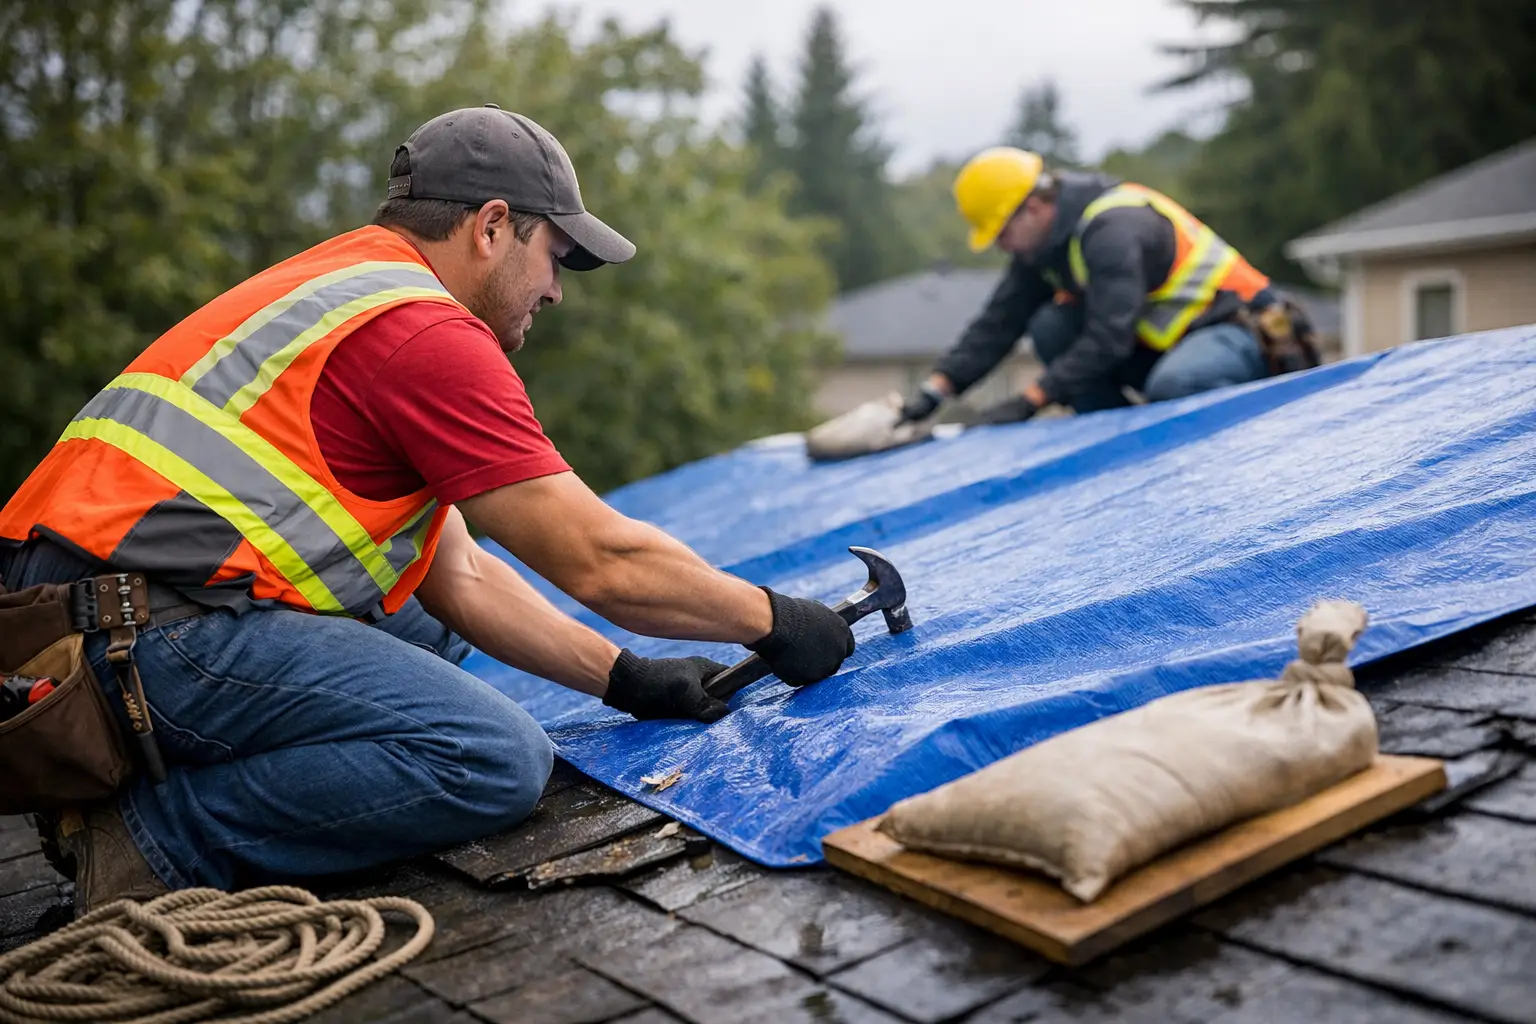
Preparing for the Roofing Felt Installation
Before going for a smooth roofing felt installation, you need a couple of things:
- Clean the Roof Deck: Clean the dirt and dust, as well as the nails sticking up. Because a minor bump can also create a wrinkle later.
- Dry surface: Never make the mistake of installing the felt on the wet decking. Because a wet surface can lead to the moisture underneath, which can cause buckling.
- Using the Right Tools: You would need a hammer tacker or chalk line, and the felt rolls themselves.
Whenever the deck is clean and dry, wrinkle-free roofing is waiting for you.
Step-by-Step Guide: How to Install Roof Tar Paper Without Wrinkles
1. Start from the Bottom
Begin at the EAVE (the bottom of your roof). This makes sure that each overlapping row reaches water correctly, like shingles, the roofing material does. Roll out a section of the horizontal roof’s edge, which is the beginning part to do.
2. Keep Tension upright
One of the most crucial roofing felt installation tips is maintaining tension as you roll it in. If the felt goes down loosely, wrinkles will form as soon as you secure it with that tension. Work with a helping hand if possible, one person holds the roll taut while the other fastens it down, making the work so much easier.
3. Staple or Nail in Place
Secure the felt paper with a hammer tacker or use roofing nails on it. Place fasteners about every 8 to 10 inches along the edges and 12 to 18 inches in the middle for support. Don’t overdrive nails; if they tear the paper, wrinkles can spread, making the tears wider.
4. Overlap Correctly
Each row of felt should overlap the previous one by about 2 – 4 inches. At vertical seams, overlap at least 4 inches. This prevents water from sneaking through gaps and doing damage. Remember: improper overlap leads to weak points in your roofing system, causing problems.
5. Avoid Wind While Rolling
Wind can be your worst enemy during these roof installations. Try to install on a calm day, or at least work in smaller sections so gusty winds don’t fold or wrinkle the material as you go, and throw all your work in vain.
6. Smooth as You Go
After securing each section, run your hands, or better do it with a broom, over the felt to flatten it out before rolling the next sheet on it. Small adjustments at this stage prevent bigger problems later and give a sense of completion.
Pro Roofing Felt Installation Tips
- Work in manageable lengths: Instead of rolling out the entire length and making it hard, cut sections you can easily control and keep the stress low.
- Use chalk lines: This helps keep rows in place and prevents uneven overlaps that cause wrinkles or tearing.
- Don’t skip overlaps at valleys and ridges: In tricky areas, add extra layers of asphalt-saturated felt for stronger water protection, making it long-lasting.
- Check alignment often: A small misalignment at the start can create bigger wrinkles the further you go, making things hard.
Common Mistakes to Avoid
- Installing felt paper on the roof deck without giving it time.
- Rolling too much at once without fastening it as well.
- Overlapping the rows too little can leave gaps.
- Forgetting to keep tension when rolling out felt improper.
By avoiding these mistakes, you’ll set yourself up for a long-lasting and wrinkle-free underlayment, which will be your sign of accomplishment for a long time.
Final Thoughts
Now you better understand why you need to know about how to install roof felt paper without wrinkles. Although we have discussed the step-by-step guidance to let you know how to do it, you will have a better idea now.
Also, it’s not complicated at all, but you have to be ensure about certain things like keeping the deck dry and clean, securing each sheet, and balancing the portions.
We are sure that with these roofing paper installation tips, you’ll have a smooth and flat underlayment, which ensures shingles are flat and the roof is always leak-free. In case you still think it’s hard to manage, you can consider hiring a professional roofing company like Rick’s Main Roofing. Contact us to ensure your roof lasts for years.
Frequently Asked Questions
1. What does felt paper do on a roof?
It helps in ensuring that water is drained off the roof, so it doesn’t leak into your house.
2. What other name of roofing paper is famous?
It is popularly known as underlayment or roofing tar paper.
3. What side of the roofing felt goes down?
Roofing felt has basically two sides, one is smooth and the other is rough. Whenever you are about to lay down the shingles on your roof, place the rough side on the roof.