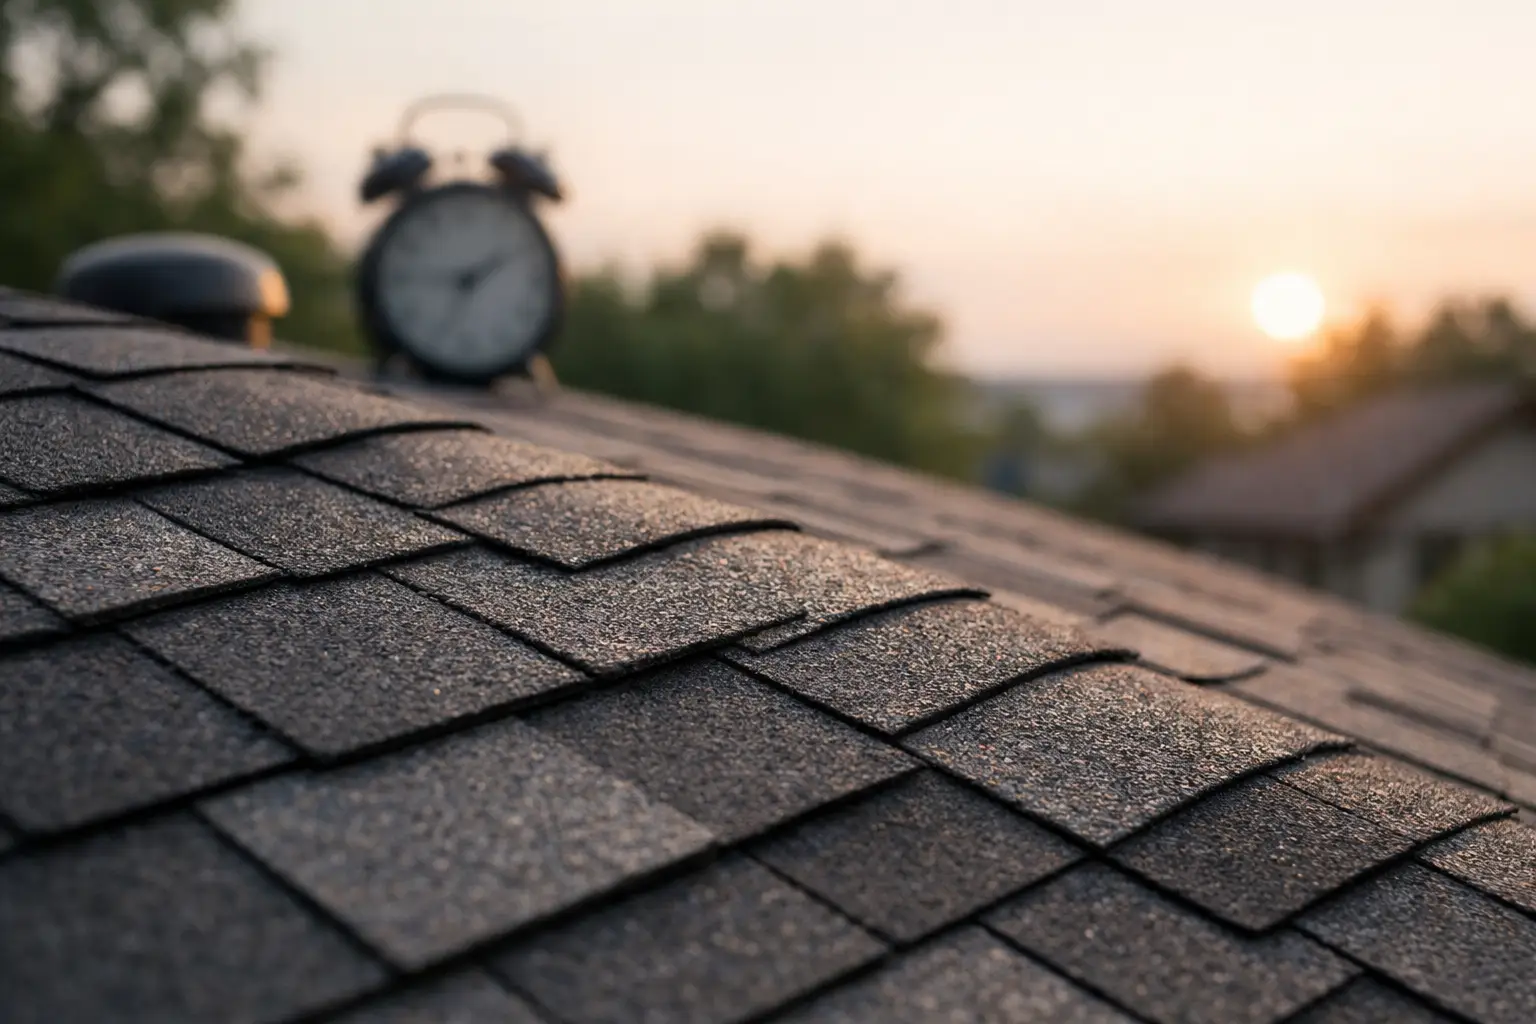
Your roof has moss, and it gives you an ick every time you see it? And now you are worried about how to remove moss from the roof. But all the DIYs you have gone through aren’t working at all. You also have hired a bunch of contractors, but they’ve proven to be jack of all trades but master of none.
And now you are tired enough to try anything else. So, what should you do at this moment? No fear, as Rick’s Main Roofing has written this step-by-step guide about how to remove moss from a roof.
Obviously, it not only gives your roof a messy appearance but also damages your roof slowly and steadily. But no worries, as we will cover everything about roof moss removal in detail. Let’s start reading it immediately!
Moss Growth and Why it Should be Removed
It’s very easy to notice it under large roof surfaces. Even the walls can be covered with it. This generally occurs in humid climates. Once moss starts growing, it can quickly spread and hamper the overall look of your roof.
Here’s why ignoring it is non-negotiable
- Over time, water absorption alongside moss can easily damage shingles and wood.
- And when moss finally starts to grow, it creeps under shingles. It causes shingles and wood damage.
- Moisture will always be a problem and can weaken your roof materials. This will shorten its lifespan.
- Moss can also lead to algae and mold growth. These fungi can make maintenance even more difficult.
- Moss, if untreated, can demand a number of expensive repairs as the water damage inside your house will greatly increase.
Tools and Materials You Will Need
Now, let’s find out how to remove moss from the roof. Moss and any other type of fungus should be taken out manually. Pressure washers are even more destructive to your roof. Pick up all your tools to make the process safe and organized. It will result in a smoother process.
- Sturdy extension ladders or a safety harness
- Soft brushes
- Non-slip shoes
- Hoses that can change pressure
- Brooms
- Buckets
- Spray pumps
- Safety gloves
Step 1: Prioritize Safety
When cleaning a moss grown roof, your foremostconcern should always be safety.
- Do not disturb moss on roofs while the wind is blowing hard
- Don’t work on wet roofs
- Sturdy shoes are a great help as they will prevent slipping
- If your roof is steep, a safety harness will be useful
- Your ladder should be on solid ground. It’s better to have someone hold it for support
- Call an expert if the roof is steep
Step 2: Prepare the Roof
Roof cleaning and moss removal require good preparation. The area has to be prepared before you begin. This protects your lawn and adds safety to the work.
First, sweep the roof to remove leaves, debris, and dirt. Next, cover your plants. Defend them from sprays with sheets of plastic. Then, move the garden furniture away. Keep the space clear and dry. Now that your yard is protected, you can begin to clean the roof.
Step 3: Cleaning Solution
You can find products to clean moss from roofs in most hardware stores. Many are safe for shingles and are designed specifically for roofs. You can make your moss-killing solutions if you want to follow a DIY approach.
Option 1: Vinegar Solution
- In a spray pump, mix equal parts of water and white vinegar.
Option 2: Bleach Solution
- Bleach is the best and most powerful cleaner, but you shouldn’t cleanse with it at its full strength. Take care, though: Bleach is corrosive to plants.
Option 3: Baking Soda Spray
- You can completely stop moss growth if the pH increases. Dissolve 1 cup of baking soda in 1 gallon of water.
Step 4: Remove Moss
By now, you should have prepared your cleaning agent. Use the agent as a liquid or spray and spread it on the roof. Scrub it to eliminate the moss. If any of it remains, you will have to repeat this entire process.
- Use any old toothbrush to scrub the moss
- Start from the top section of the roof
- Work in small areas
- Don’t be too forceful, as it can destroy the roofing material
- If the moss does not come off, use more solution and do it again.
Step 5: Rinsing
After scrubbing, flush the roof with a garden hose. Keep the water pressure low. Water can get under the shingles due to heavy pressure. The top-down approach is a good start. Wash away all moss and dirt. Look for any patches that have moss. Re-spray the solution and scrub again.
Step 6: Check for any Damage
You have to look for damage that is not immediately visible. Look closely at the shingles. If they are cracked, loose, or missing, replace them also.
Examine the wood for evidence of rot. Check for spots that are soft or stains that are dark. If you notice exposed underlayment, correct it. Prompt repairs seal leaks and protect your home.
Step 7: Prevent Moss from Forming Again
Preventing something is better than fighting it off and dealing with it. Here is how you can prevent moss from growing again:
- Laying Some Strips of Zinc or Copper: This way, the moss won’t grow, as it doesn’t like these metals. As it rains, tiny pieces of these metals wash away. This forms moss-resistant shingles.
- Cut Long Branches: Long branches can cast a shadow, so you should trim them. Sunlight will keep moss off your roof.
- Remove Debris Promptly: Trees, at times, shed leaves and twigs. If they are left without notice, they collect moisture and cause the roof to grow moss.
Avoid These Common Removal Mistakes
When moss removal is done, these common errors should be avoided.
- Do not use a pressure washer. It can destroy shingle granules.
- Never scrape with metal tools, as they can scratch and damage shingles.
- Always use safety gear. Rooftop falls can be dangerous.
- Protect your plants, as grass and flowers can be permanently damaged by cleaning solutions.
Do You Need an Expert?
DIY projects do not always work. Nowadays, people don’t have enough time to manage such issues themselves. Perhaps you don’t have the necessary tools available.
It’s best to contact experts such as Rick’s Main Roofing to help you with this. This ensures the protection and longevity of your roof. Here are some signs when you should hire an expert:
- Moss covers most of the roof.
- Your roof is very high or steep.
- You’re not comfortable working on ladders.
- You’re unsure about using cleaning solutions.
- Roof damage that needs repair
Wrap Up!
People think that moss is just a layer on their roof that will go away on its own. But never underestimate it. Moss can cause serious damage to the roof. But you must protect your home and extend the roof’s lifespan. Detailed cleaning of all areas is very important. A smart way to do this is by arranging routine gutter and roof maintenance sessions. But how to do it professionally? You have to hire a professional roofing contractor who can assist you in both roof cleaning and moss removal. Now, you don’t have to keep roaming around in search of such a company when Rick’s Main Roofing is here to assist. We also have master elite residential and master commercial certification with GAF Materials Corporation.
Frequently Asked Questions (FAQs)
1. What does moss on a roof show?
Not only physical damage issues by which moss and lichen can easily conflict with the roof, but its presence can also be shown by mold spores, leading to the growth of mold.
2. Will winter kill the moss?
No, it’s not the case because winters don’t kill moss, but it goes dormant. And when it goes dormant, plants aren’t able to spread the spores until the environment gets warmer.
3. Will bleach kill moss on my roof?
Yes, it can kill, but only if used effectively. Only if you use a 50:50 mixture of laundry liquid, chlorine bleach, and water. That’s how it will kill the moss on the roof.